
Last updated November 17, 2026
 Sliding glass doors
 Single hung
 Double hung
 Horizontal roller
 Casement
 Bay & bow
 Entry doors
 Impact garage doors
 PGT
 CGI
Free in-home measure and quote - PGT, CGI and CWS impact lines compared on your actual openings, style by style
Get your free estimateWindows & Doors Warning Signs: An Enterprise Homeowner’s Reference Guide
A hairline crack in exterior sealant at a window corner is not cosmetic. It is a capillary pathway for the next monsoon rain to reach the rough opening, and it costs about $12 of caulk to close before it costs $3,000 of framing to repair after. That gap between a cheap warning sign and an expensive consequence is what this guide is about. Most window failure guides describe end-stage symptoms: foggy glass, drafts you can feel with your hand. But the signs that actually matter appear six to eighteen months earlier, while the damage is still small. We’re going to walk through the early indicators that tradespeople notice and that homeowners in Enterprise walk past every day.
Quick Answer
Windows and doors usually signal failure long before glass fogs or a draft becomes obvious. The earliest warnings are hairline sealant cracks at frame corners, an iridescent film or slightly distorted sight lines inside the glass, hardware that needs a nudge to latch, and paint bubbling or staining next to the casing. Caught in this window, most of these are inexpensive repairs. Left alone through an Enterprise summer, they compound into water intrusion, frame rot, and a full replacement.
Styles & brands we work with
- Single hung
- Double hung
- Horizontal roller
- Casement
- Bay & bow
- Sliding glass doors
- Entry doors
- Impact garage doors
- PGT
- CGI
Table of Contents
- Reading Frame Movement: Normal Flex vs. Racking
- Early IGU Seal Failure: Beyond Foggy Glass
- Door Hardware Signs That Precede Lockset Failure
- What Rising Utility Bills Reveal About Air Infiltration
- Paint Bubbling and Staining: Water Behind the Casing
- How to Run a Draft Test Correctly
- The Seasonal Walk-Around: An Enterprise Checklist
Reading Frame Movement: Normal Flex vs. Racking
Every window and door frame moves a little. Wood, vinyl, and aluminum expand and contract with temperature, and a door that sticks in July and frees up in October is showing you normal thermal movement in a climate that swings hard between desert heat and cold nights. Racking is different. Racking is when the opening itself has gone out of square, and the frame is being twisted along with it. The trick is telling the two apart before a $200 adjustment becomes a $4,000 reframe.
Here is what to look at, corner by corner:
- Cracks radiating from a corner at roughly 45 degrees. These usually point to stress concentration at a fixed corner, often from settlement or an opening that has shifted. Cosmetic cracks run parallel to a joint; structural ones cut across it diagonally.
- Separation at the mitered corner of the sash. If the joint where two pieces of the sash meet has opened into a visible gap, the sash itself is stressing. That is not paint failure. That is the frame telling you it is fighting the opening.
- Sill cracks that follow the grain. A sill crack running the length of the board with the wood grain is often drying and checking, which is common and manageable. A crack perpendicular to the grain near a fixing point is a different animal and worth a professional look.
- A consistent pattern across the whole wall. One window behaving oddly is a window problem. Three windows on the same wall cracking at the same corner is a wall or foundation problem, and no amount of window work fixes it until the movement is understood.
In Enterprise, we regularly see the second pattern after a long dry spell followed by a heavy rain event. The soil under the slab or footing swells and shrinks, the wall moves a fraction, and the stiffest thing in the wall – the window frame – takes the load. If you notice new cracks at multiple corners after a wet season, get it looked at before the next one. A technician with up to 18 years of experience can usually tell within twenty minutes whether what you are seeing is seasonal flex or a genuine out-of-square opening.
Early IGU Seal Failure: Beyond Foggy Glass
An insulated glass unit – the IGU, which is the sealed sandwich of two panes with a spacer and desiccant between them – fails from the edge inward. The edge seal is the weak point, and once it is breached, moisture gets in and the desiccant eventually saturates. By the time you see obvious fogging between the panes, the seal has been compromised for months. The signs that come first are subtler.
Look for these, in roughly the order they appear:
- An iridescent film. Tilt your head and catch a reflection at a shallow angle. A faint oil-slick sheen, usually near the bottom edge or one corner, is moisture beginning to work into the unit. It can look like a smudge that won’t wipe off – because it’s on the inside face, not the outside.
- Distorted sight lines. Look across the glass at a straight edge on the far side, like a fence line or the horizon, at eye level. A slight waviness or ripple in the reflection is a sign the unit is beginning to bow or the seal is letting go. This often shows up six months before a single fog patch appears.
- Condensation that shows up on the wrong side. Condensation on the room-side face is normal humidity behavior. Condensation trapped between the panes is a failed seal, full stop.
- A visible haze creeping in from one edge. The edge sealant decays first, so the fog usually starts at the perimeter and moves inward. A faint whitish edge that wasn’t there last year is the earliest visible stage.
A failed IGU is not a safety issue on its own, but it does mean the unit is no longer insulating, and it will only get worse. In the Enterprise heat, a compromised unit also stresses the frame as the gas between the panes is lost. We’ve replaced enough glass on the west-facing side of homes here to know that sun exposure accelerates the timeline. If you’re seeing any of the four signs above, that’s a conversation worth starting now rather than after the glass has gone fully opaque. It also helps to know what the replacement options and costs look like, which we cover on our Window Replacement in Enterprise page.
Door Hardware Signs That Precede Lockset Failure
Door hardware gives you warnings for months before a lockset fails, and most homeowners interpret them as “the door is just a little sticky.” The sequence is predictable, which is good news – if you know what to check, you can catch the adjustment before the latch stops catching altogether, or worse, before a deadbolt jams with you on the wrong side of it.
Check these specific points first, in this order:
- The strike plate. Look at where the latch lands in the jamb. If there are shiny scrape marks, a gouge, or the latch is riding the edge of the plate instead of dropping into the hole, the door has shifted on its hinges. Loosening the plate and nudging it toward the direction of the scrape often buys years of clean closing.
- The hinge screws. Open the door and try to wiggle each hinge with your hand. Loose screws, or screws that spin in their holes, mean the top hinge is pulling out – which makes the whole door sag and throws the latch off. A stripped screw hole is a five-minute fix with a longer screw or a dowel plug, not a door replacement.
- Hinge leaf alignment. With the door closed, the gap between each hinge leaf and the jamb should be even. A hinge leaf that has pulled proud of the jamb, or a gap that opens up at the top when the door is closed, is the door announcing it’s out of alignment.
- The deadbolt throw. With the door open, throw the deadbolt by hand. It should move smoothly. If it catches, grinds, or needs a push, the bolt is not aligned with the strike, and that misalignment will only widen as the door settles.
- The handle set. A handle that has gone wobbly, or a key that has started to need a jiggle, is worn internal hardware. Those tolerances do not come back – they get worse until the set fails.
The single most common cause of a sticking exterior door in Enterprise is not the lock at all. It’s the top hinge settling after a summer of thermal cycling, which drops the whole door a fraction of an inch. A door that latches cleanly in January and drags in July is usually a hardware and alignment issue, not a reason for a new door. If you want to understand what separates a hardware adjustment from a replacement, our guide to Door Installation in Enterprise walks through the thresholds and hardware choices that age well in this climate.
What Rising Utility Bills Reveal About Air Infiltration
Windows and doors account for a meaningful share of a home’s heating and cooling load, but the useful signal is not the bill itself – it’s a bill that climbs while nothing else in the house has changed. Same thermostat schedule, same number of people, same appliances, and yet the summer cooling cost is up 12 to 18 percent over last year. That is a house telling you it has started leaking air somewhere, and window and door perimeters are the first place to look.
Air gets in at the weakest points, which are almost always:
- Perimeter gaps between the frame and the rough opening. A gap the width of a credit card behind the trim can move a surprising amount of conditioned air. You won’t see it, but you’ll pay for it.
- Worn weatherstripping on doors. The foam or fin seal that runs around a door frame compresses over time. A quarter-inch of lost seal around a standard door is like leaving a small window cracked all summer.
- Failing sweeps and thresholds. The sweep at the bottom of an exterior door wears against the threshold with every opening. If you can see daylight under the door, you’re heating and cooling the outdoors.
- Loose glazing or failed seals at the sash. A slight rattle when you tap the glass, or a sealant bead that has shrunk away from the frame, lets air move around the glass.
Here in Enterprise, the west and south-facing windows take a punishing solar load, and the frames on those exposures are the first to lose their seals. We’ve seen homes where the worst air leaks were all on the sun-facing side, not because those windows were installed poorly, but because ten summers of heat cycles had finally worn out the sealant. A quick draft test – covered in its own section below – tells you whether your bill is a seal problem or a glass problem. If it turns out to be the glass itself, our Window Installation in Enterprise page explains how modern units and proper flashing change the equation.
Paint Bubbling and Staining: Water Behind the Casing
Paint bubbling around a window frame is often read as “the paint is getting old.” It usually isn’t. Paint bubbles when there is moisture behind it pushing it off the substrate, and when that moisture is coming from outside – not from surface humidity – it means water is getting behind the casing and sitting against the framing. Surface moisture dries. Trapped moisture rots.
The staining patterns tell you which is which:
- Bubbling along the top or side of the casing. Water is getting in from above, typically at a failed sealant joint, a bad flashing detail, or a gap under a drip edge. The bubbling is the water’s exit route. It almost always starts at the highest point and works down.
- Rust-brown or yellow staining running downward. That is water carrying tannins or rust from the framing or fasteners. Vertical streaks mean it’s been doing this a while – not a one-storm event.
- Staining in a ring or patch right at a corner joint. This points to a specific failed joint rather than a general weep. Those individual joints are the easy ones to fix early.
- Soft or spongy trim. Press a thumb into the trim below a stain. If it gives, the wood behind is already compromised. That’s past the point where a fresh coat of paint helps.
In an Enterprise summer, moisture that gets behind a casing doesn’t have many dry days to escape. It gets trapped, and it works on the framing and the sheathing every day it sits there. The cheapest repair window is while the paint is still bubbled but the trim is still firm. Once the trim is soft, you’re in carpentry territory. If the damage is extensive enough that the opening needs to come apart, that’s the point where replacement often pencils out. You can see how that conversation works on our Window Installation in Enterprise page.
How to Run a Draft Test Correctly
The draft test is the oldest trick in the trades, and most homeowners do it wrong in one specific way: they test on a windy day with the house wide open, or they test with a hand that’s already cold. Do it right and it’s the single best five-minute diagnostic for air infiltration in your home. Here’s the sequence:
- Pick a calm, cool morning. Wait for a day with low wind and a meaningful indoor-outdoor temperature difference – ideally at least 15 degrees. The stack effect (warm air rising and escaping up high, cool air being drawn in low) is what drives the test.
- Close up the house. Shut all exterior doors and windows. Turn off exhaust fans, the dryer, the range hood. You want the house as sealed as it normally runs.
- Turn on one exhaust fan. A bathroom fan or kitchen hood works. This pulls the house slightly negative and makes air leaks much easier to see.
- Use a lit candle or a single-ply tissue. A candle flame is the classic. A tissue taped lightly to a pencil is a good alternative that doesn’t involve an open flame. Hold it an inch from the perimeter of the window frame – along the sill, up the sides, across the top – and then around the door weatherstripping. Watch for the flame to waver or the tissue to flutter.
- Test the lock and latch point too. On doors, hold the candle near the latch, the deadbolt, and the sweep at the bottom. These are the leak points most people miss.
- Write down where it leaks. A simple sketch helps. There’s a big difference between “the seals are worn” (a $30 fix) and “the whole unit is loose in the opening” (a bigger conversation).
One safety note: never use a candle near curtains, blinds, or anything flammable, and keep it well clear of children and pets. If you’d rather not use a flame, the tissue test works nearly as well. If the tissue is fluttering at multiple windows across the house, that’s not a weatherstripping problem – that’s an envelope problem, and it’s worth having someone look at the whole assembly. For the broader picture of what a proper installation includes, start at the TruePane Windows & Doors Enterprise home page.
The Seasonal Walk-Around: An Enterprise Checklist
The best defense against expensive window and door repairs is a twice-a-year walk-around. In Enterprise, the two most useful times are late spring – before the peak heat and monsoon season – and late fall, once the extreme temperatures have backed off. Fifteen minutes each, and you’ll catch the small stuff before it compounds.
Spring walk-around:
- Run a finger along every exterior sealant joint at the top and sides of each window and door. Any crack wider than a hairline gets re-caulked. A tube of quality exterior sealant is a small investment against water in the wall.
- Look at the glass at a shallow angle, front and back, for the iridescent film or a distorted reflection. Note any pane that has changed.
- Open and close every exterior door. Note any that drag, need a nudge, or won’t latch cleanly.
- Check the paint around every window frame for bubbling or new staining.
- Run the tissue draft test described above.
Fall walk-around:
- Check weatherstripping and door sweeps for compressed or missing sections. Replace as needed.
- Inspect hinge screws on every exterior door – tighten any that spin.
- Look at exterior trim for any new cracks at corners and sills. Photograph anything that looks new so you can compare next year.
- Re-test the deadbolts and latches.
If you’re planning a bigger change to a wall or opening, the material choices and flashing details matter as much as the window itself. Our Window Replacement in Enterprise page covers the options in depth, and our Door Installation in Enterprise page covers what to expect on the entry and patio side.
Common Mistakes to Avoid
- Caulking over a wet joint. Sealant won’t bond to a damp joint, and it traps the moisture you were trying to keep out. Wait for a dry day, or dry the joint with a heat gun before caulking. In an Enterprise summer, a joint can look dry on the surface and still be wet behind the sealant.
- Treating a sticking door as a “just needs a little sanding” problem. Sanding a door that binds because the hinges are pulling out just hides the cause for another six months. Find the hinge first – the fix is usually tightening or replacing a screw, not planing the door.
- Confusing cosmetic cracks with structural ones. A crack running with the wood grain is usually drying. A crack cutting across the grain at a corner is a different story. Don’t paint over either one until a technician has told you which is which.
- Ignoring the iridescent film because “it’s not foggy yet.” The film is the seal already going. Waiting for fog means waiting six more months of heat cycling, which shortens the life of the frame around it.
- Replacing a window because of a hardware problem. Roughly a quarter of the “bad windows” we look at in Enterprise are fine units with a worn lock, a loose hinge, or a bad seal. Hardware is far cheaper to replace than glass.
- Skipping the fall walk-around. The tiny cracks you find in fall are the ones that would have grown all winter, and by spring the repair has gotten more expensive. Fifteen minutes twice a year saves a lot of money.
See the difference
 Before
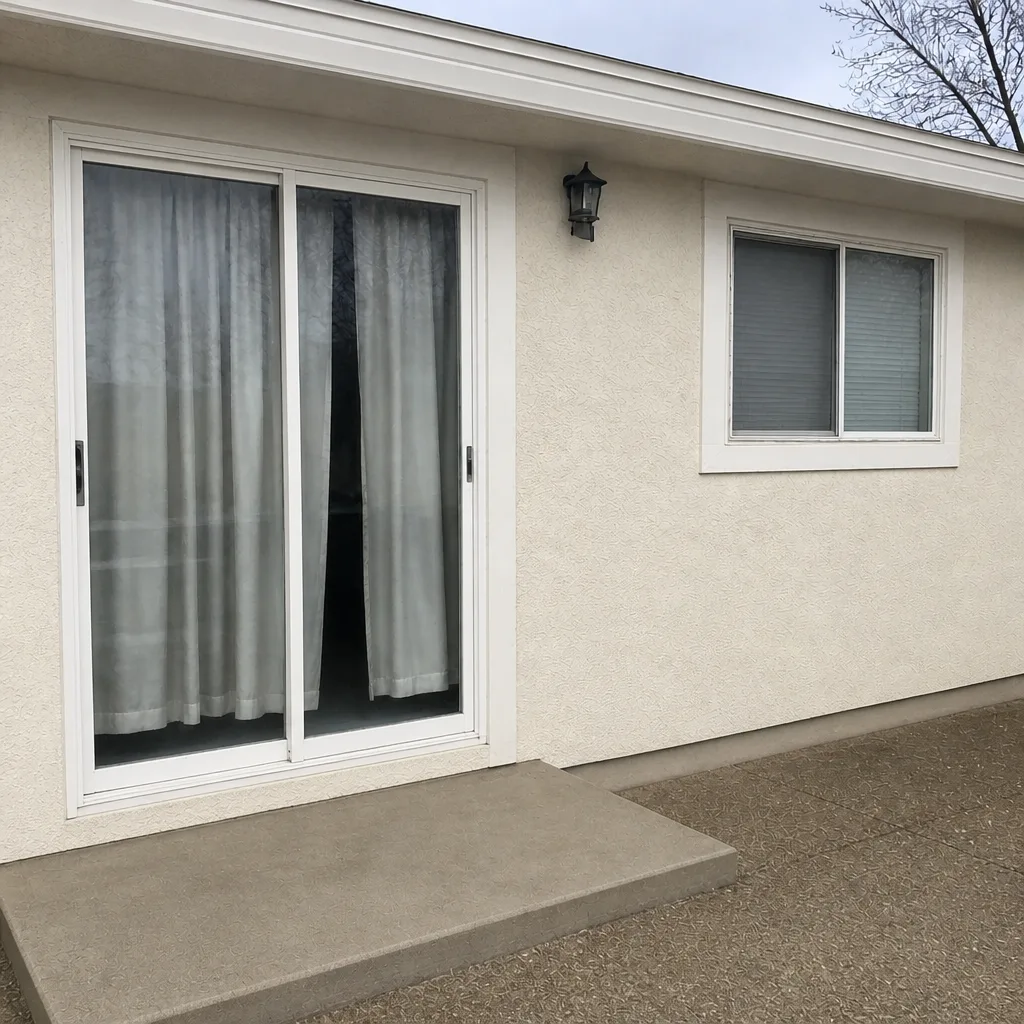 After
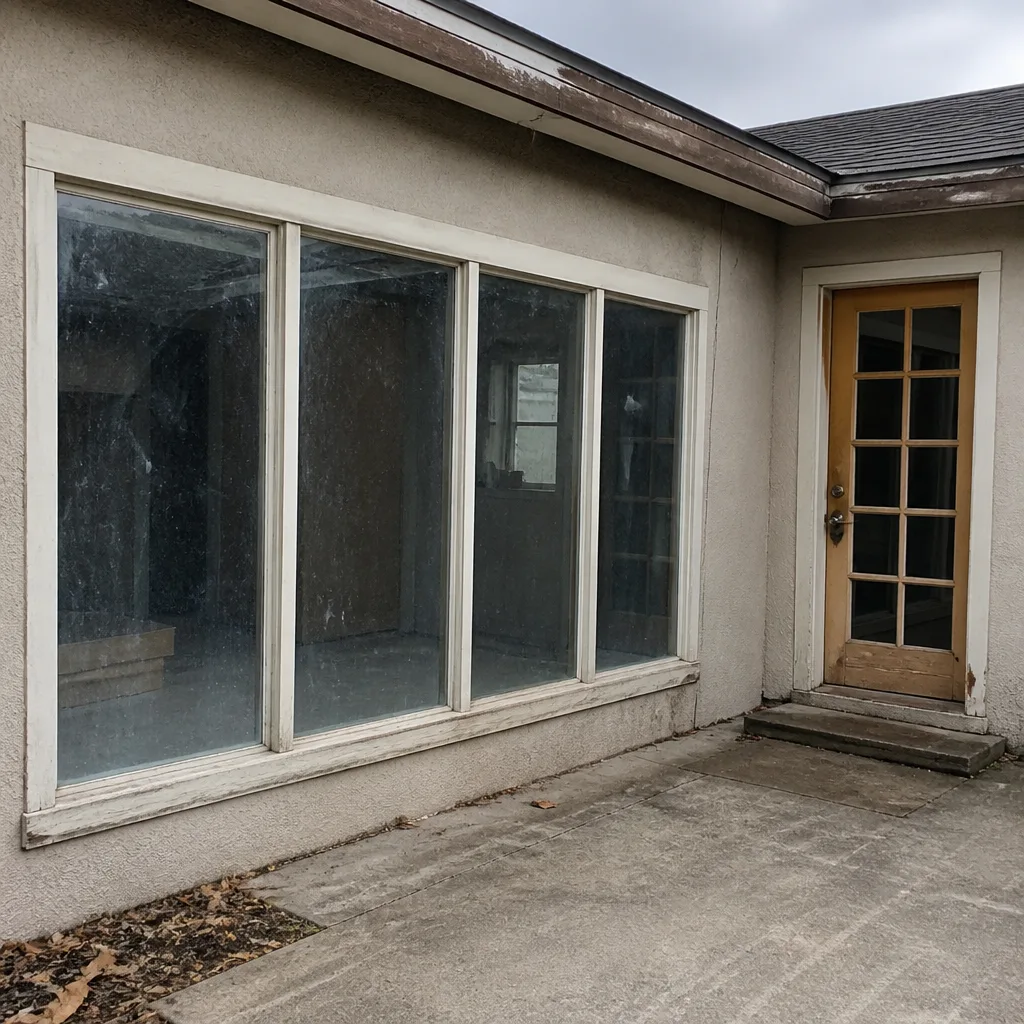 Before
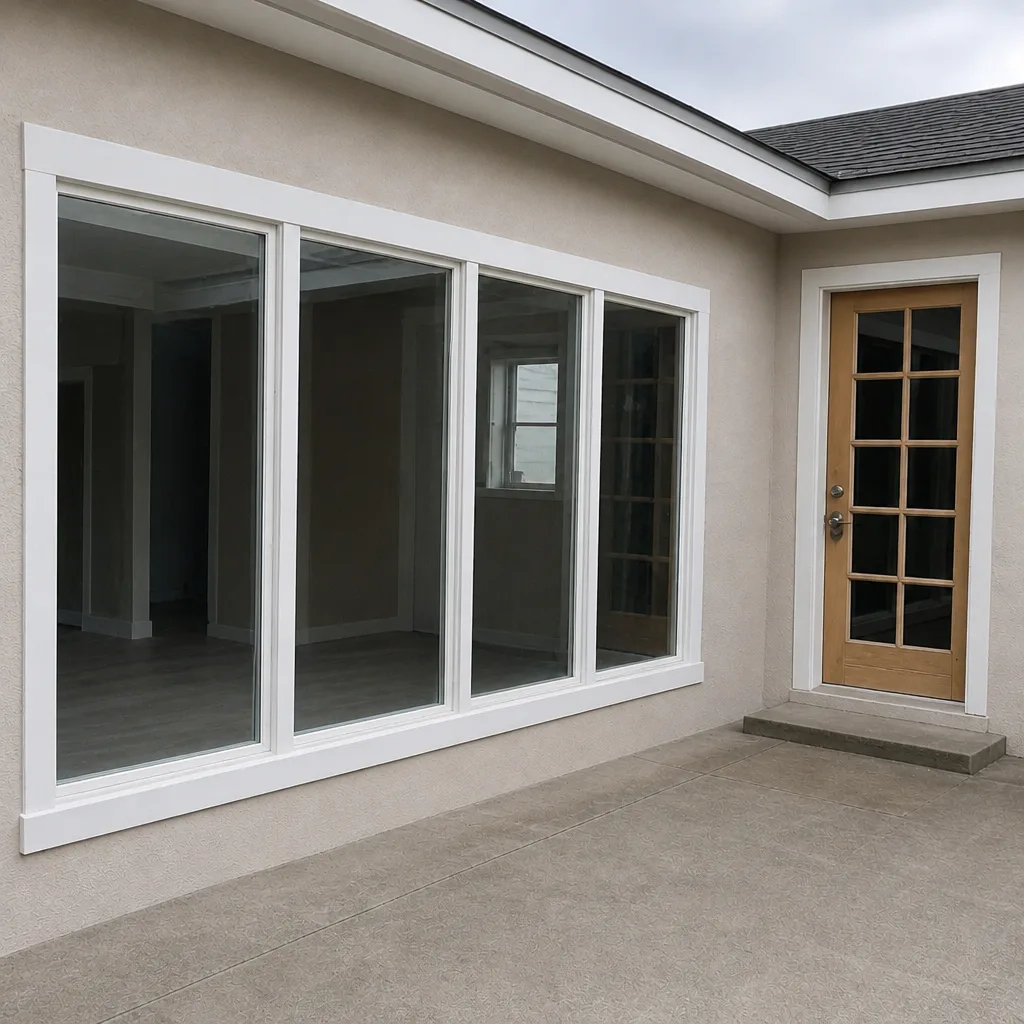 After
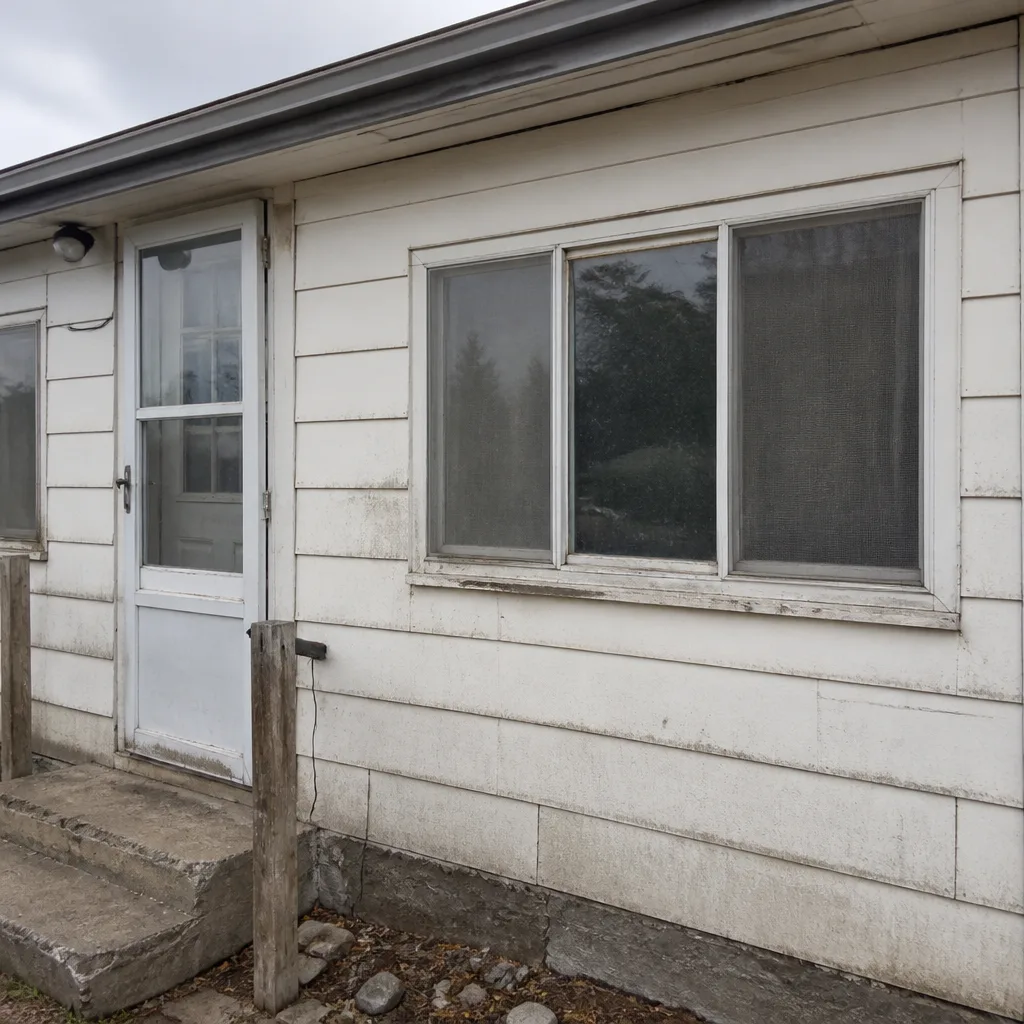 Before
 After
When to Call a Professional
Some of what we describe here is genuinely a homeowner’s job: a tube of caulk, a longer screw, a fresh weatherstrip. But some of it isn’t. Call a professional when you see multiple cracked joints on the same wall, when an IGU has gone fully foggy or is showing signs of internal failure, when a door has sagged to the point that the deadbolt won’t line up no matter how you adjust the strike, when paint is bubbling over soft trim, or when you’ve caulked a joint twice and it keeps opening. Those are the signs that the problem is behind the window, not at it.
TruePane Windows & Doors Enterprise offers free estimates in Enterprise – call (844) 629-7617. We bring the same discipline to every job: two passes on every measurement, manufacturer lines quoted side by side on paper, and both warranty layers registered in writing before the truck leaves the driveway. If the pane is not true, the job is not done.
Frequently Asked Questions
If the frame and sash are solid and the only problem is the glass, a replacement glass unit (IGU) is almost always the right call – it’s faster, cheaper, and keeps the original frame. If the frame is cracked, soft, or visibly out of square, or if the unit has fogged repeatedly, a full replacement is usually the better investment. A technician can tell which you’re looking at in a single visit.
You can fix most sticking doors yourself if the cause is a loose hinge. Try tightening the hinge screws first, and if a screw spins in its hole, replace it with a longer one or plug the hole with a wooden dowel. If the door still drags after that, the problem is frame alignment and worth a professional look. Call (844) 629-7617 if you’re not sure what you’re looking at.
In Enterprise, a typical insulated glass seal lasts somewhere between 10 and 20 years depending on sun exposure, the exposure direction of the window, and the quality of the unit. West and south-facing windows age faster because of the solar load. If your windows are in that age range and you’re seeing any of the early IGU warnings above, that’s a good time to have them inspected.
A cosmetic crack runs with the wood grain or along a joint, and it’s usually the wood drying and checking. A structural crack usually cuts diagonally across the grain at a corner or fixing point, and it often appears alongside other cracks on the same wall. If you’re seeing the diagonal pattern at multiple windows on one wall, have the opening inspected.
It could be. Windows and doors are the most common source of new air infiltration in an otherwise unchanged home. Before you assume a full replacement, run the tissue draft test described above. If you’re leaking at the weatherstripping or the perimeter seal, that’s a much smaller repair than a new window. Call (844) 629-7617 to have us check it.
Yes. TruePane Windows & Doors Enterprise offers free estimates in Enterprise. Call (844) 629-7617 and a live person will answer – 24 hours a day, 7 days a week – to schedule a visit. We quote manufacturer lines side by side on paper so you can see exactly what you’re buying, and every job is covered by our 90-Day Done Right Promise.
The Bottom Line
The expensive part of a window or door failure is almost never the failure itself. It’s the six to eighteen months of early warning signs nobody noticed. The iridescent film, the hairline crack, the door that needs a nudge – each of those is a $12 fix in the making, and each becomes a $3,000 repair if it’s ignored through an Enterprise summer. A twice-a-year walk-around, a correct draft test, and a willingness to call when a pattern repeats will save you more than any single repair ever will. If you’re seeing the signs, call TruePane Windows & Doors Enterprise at (844) 629-7617 for a free estimate. Thank you for reading our guide – we wrote it the way we work: carefully, and with the details that matter.
Written by the team at TruePane Windows & Doors Enterprise.